THE FIRST COLLECTIONPreorders planned for October 10, 2026Explore the sets

PRODUCT CARE

How to care
for your coaster.

Lift out the top cork for everyday cleaning. The thin adhesive base stays fitted until it needs replacing. Here is the routine we recommend while the first production samples are being tested.

THE CONSTRUCTION

Anatomy of a
biuteeful coaster.

Twenty seconds inside a thoughtfully made coaster. Follow each piece, from the gentle hold above to the soft landing below. Change the pattern while the film keeps flowing.

BIUTEEFUL / IN DETAILTide / 01
A little care, in every layer.Natural cork · glazed ceramic · peel-and-stick base
00 / 20
CHOOSE A PATTERNOne film. Every finish.

THE FINISH / TIDE

Tide.

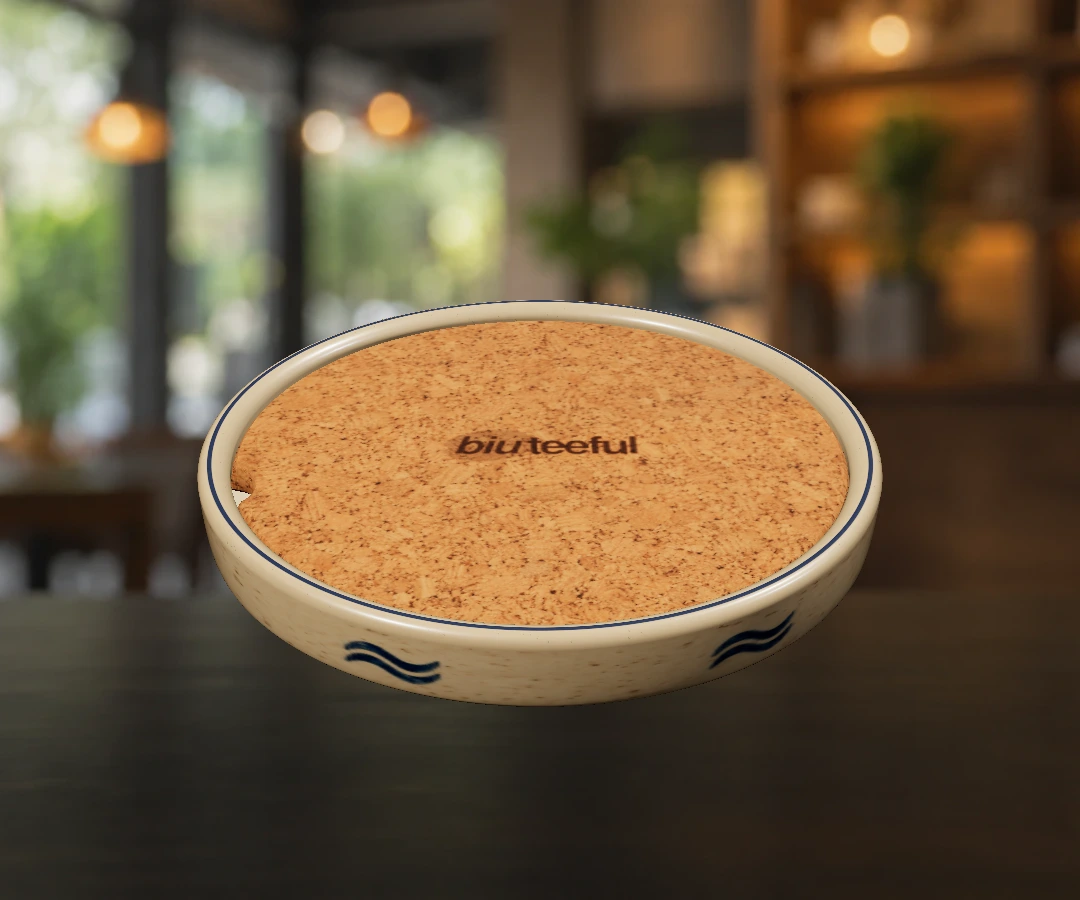
Ivory glaze · indigo waves

01 / THREE PIECES

An absorbent cork top to lift out, a rounded ceramic body to keep, and a moisture-resistant cork base underneath. Three pieces, each with a purpose.

  1. 01
    Top cork

    Absorbent cork, 5 mm thick, with a shaved edge and finger recess. Seated 2.5 mm below the rim.

  2. 02
    Glazed ceramic

    108 mm across, with a softly rounded rim and a flat, solid floor.

  3. 03
    Peel-and-stick base

    A different, moisture-resistant cork grade, 1.5 mm thick. Peel the backing and press the adhesive face into place.

Explore Tide

A visualisation of our 108 × 14 mm prototype. The section reveal and compression illustrate the fit. Lift the top at its finger recess; replace the base with a fresh peel-and-stick sheet. Final fit and finishes will be confirmed with physical samples.

CORK & CERAMIC

Give the cork
time to dry.

The two cork grades have different jobs. The absorbent, unsealed top lifts out for drying; the moisture-resistant base stays attached. Let the top dry on both sides before refitting. The ceramic floor separates condensation from the table-facing pad.

biuteeful is not advertised as antibacterial, sanitising or mould-proof. Separate parts make cleaning and inspection easier; they do not replace good hygiene.

01

Lift out the top cork.

Slip a fingertip into the rounded recess. Catch the eased lower edge and peel it progressively past the gentle retaining shoulder. Avoid metal tools or levering against the ceramic.

02

Wipe the glazed pocket.

Use mild soap on a damp cloth, wipe clean, then dry. Leave the adhesive base in place. Do not soak the coaster or put the complete assembly in a dishwasher.

03

Let the top cork air-dry.

Wipe gently; let both faces dry fully in a ventilated place. Use the complimentary spare top included with your coaster while the other one dries. Do not boil, bleach or store damp cork in a closed box.

04

Press the dry top back in.

Start with the bevelled edge and press gently around the perimeter until the cork is seated flat beneath the retaining shoulder. Replace a loose, damaged or persistently musty insert.

05

Renew the base when needed.

Peel off the old cork sheet. Remove residue using the supplied care instructions and let the flat ceramic underside dry fully. Peel the liner from a new base, centre the adhesive face on the ceramic, and press firmly. Follow the supplied settling time before use. A removed base is not designed to be stuck back on.